This pillowcase will fit a king-size bed pillow, 20" x 36". It uses quilting cotton that is at least 42" wide, and 45" long (a yard and a quarter) for each pillowcase.
NOTE: The cut piece for each pillowcase will be 42" along the selvage. For a pillowcase liner, the cut piece will be 41" along the selvage. This example is for the liner.
Because cotton quilting fabric is used for this project, I use Universal size 70/10 needles with this fabric.
I recommend machine washing and drying three times before starting this project because of laundry shrinkage, which will happen with cotton.
I cut out my projects on a large table with a large cutting mat. Sometimes I fan-fold the fabric before cutting, which lets me easily pull fabric across the table for the long cuts. This shows fan-folding of fabric to be cut, to prevent the fabric from pulling out of shape while cutting:

This shows rolling of fabric during cutting as another way to prevent pulling:

I lay the fabric across the cutting board with the selvages aligned to the grid. I cut one end of the fabric along the grid to get a straight cut, then align that cut edge with the edge of the cutting board. I measure 21" along the selvage ...

I then place a pin in each selvage, 21" from cut edge:

Here's the pin in the opposite selvage 21" from the cut edge:

I roll the fabric from the cut edge until the pins are on the same line. I place another pin in the selvage 20" from the first pin on each side. This creates a total length of 41".

Here is the pin in the opposite selvage 20" from the first pin on each side:

I align the cutting ruler with the second pins, remove the pins, and cut across the fabric. This is after that cut:

After the cut is made, I remove all the pins. The resulting rectangle is the full width of the fabric (42" to 45" from selvage to selvage), and 41" along each selvage:

I fold the fabric piece, right sides together, with the fold going from the center of one selvage to the center of the other selvage, and the raw edges aligned. I smooth out the fabric so the cut edges are aligned. I place a pin through both layers of fabric 3" from one selvage:

I smooth out the fabric from the cut edge to the fold, then place another pin through both layers of the fabric, 3" from the fold of the same selvage:

To form the hem, I fold the selvage down, using these pins to show where the fold belongs (this is the pin to the right). On the cut edge, I pin through all layers of fabric near the selvage (this is the pin to the left):

On the fold edge, I pin through all layers of fabric near the selvage (this is the pin to the left):

I move the pin from the hem fold to the cut edge to hold the hem in place:

I pin the hem down with a few pins, measuring to ensure an even, three-inch hem:

I pin the remaining cut edges together, and the remaining selvage edges, too:

I use a straight stitch with length = 3.5 for this project:

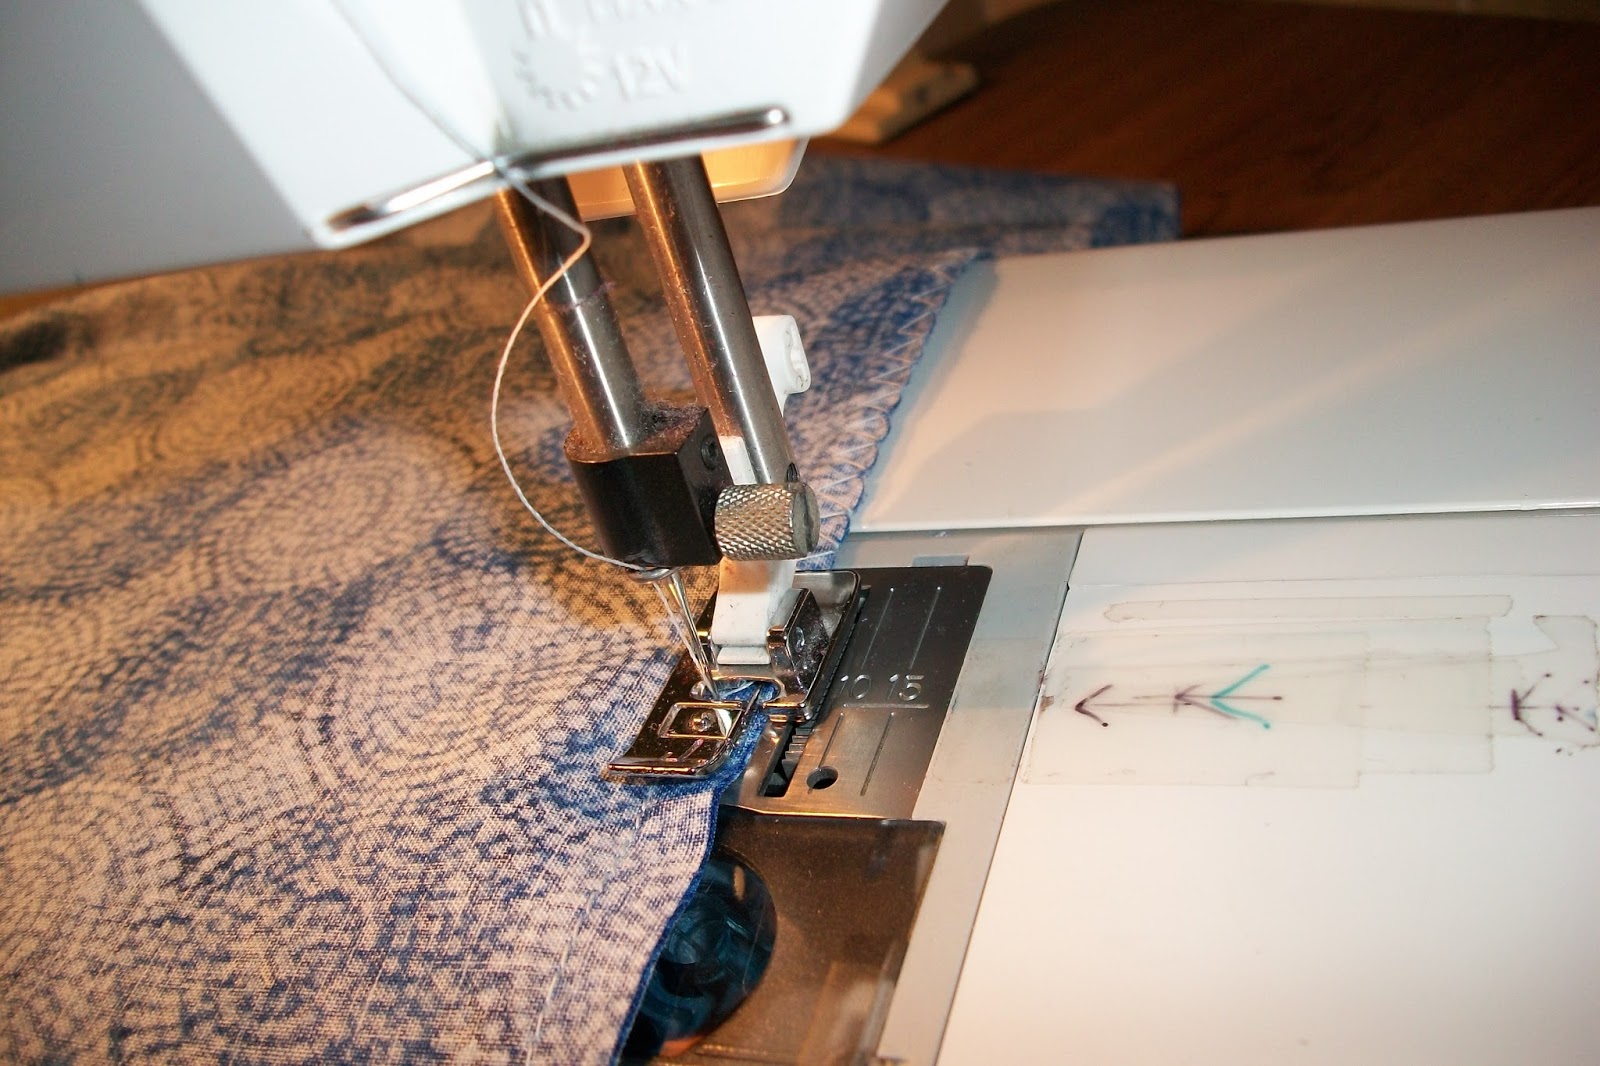
I stitch the pillowcase together with a straight stitch, starting at the hem, about 3/8" from the edge. I use the edge of my wide presser foot as a guide. I hold the thread tails when I start the seam, and backstitch, too:

I remove the pins along the seam as I go.
The backstitching is shown here, and the thread tails have been cut off. I remove pins from this seam line as I go. Leave in the pins holding the hem in place:

When I get to the corner, I curve the seam away from the edge slightly, starting about two inches from the end. I sew off the edge, and turn the fabric to sew along the selvage. I start that seam slightly farther from the edge, and taper back to the usual seam allowance (for this project) within about two inches:

At the corner where I turned from the cut edges to the selvages, I trim off the corner piece. I am careful to not cut through the stitching that forms the corner:

Using an overcast foot, I use big zigzag stitches to overcast the cut edges of the fabric:

I start at the fold of the hem, but I do not backstitch there:

When I get to the cut corner, I turn the fabric a little at a time and do not let the stitches go inside the corner stitches. After I turn the corner, I continue about two or three inches with the zigzag stitch, then switch to a short (2.5) straight stitch for another inch or so along the selvage. I stop and cut the threads there.
I take it to the ironing board and steam press the hem's fold and all the stitching.
I remove the pins from the hem, and place the pillowcase over the pointy end of the ironing board, with the long seam down the middle of the ironing board. I turn the hem down, which will force the long seam to one side. I press this seam to that side along its length:

I pin the 3-inch hem in place at intervals, and press in place:

I set up my machine for hem topstitching - slightly long, straight stitch:

I stitch the hem in place, removing pins as I go:

I turn the pillowcase right side out and press it. For my pressing tips, see this tutorial (scroll down to where it shows the yellow fabric):

Here is the finished pillowcase, neatly folded!

Now it's done!
Because cotton quilting fabric is used for this project, I use Universal size 70/10 needles with this fabric.
I recommend machine washing and drying three times before starting this project because of laundry shrinkage, which will happen with cotton.
I cut out my projects on a large table with a large cutting mat. Sometimes I fan-fold the fabric before cutting, which lets me easily pull fabric across the table for the long cuts. This shows fan-folding of fabric to be cut, to prevent the fabric from pulling out of shape while cutting:

This shows rolling of fabric during cutting as another way to prevent pulling:

I lay the fabric across the cutting board with the selvages aligned to the grid. I cut one end of the fabric along the grid to get a straight cut, then align that cut edge with the edge of the cutting board. I measure 21" along the selvage ...

I then place a pin in each selvage, 21" from cut edge:

Here's the pin in the opposite selvage 21" from the cut edge:

I roll the fabric from the cut edge until the pins are on the same line. I place another pin in the selvage 20" from the first pin on each side. This creates a total length of 41".

Here is the pin in the opposite selvage 20" from the first pin on each side:

I align the cutting ruler with the second pins, remove the pins, and cut across the fabric. This is after that cut:


I fold the fabric piece, right sides together, with the fold going from the center of one selvage to the center of the other selvage, and the raw edges aligned. I smooth out the fabric so the cut edges are aligned. I place a pin through both layers of fabric 3" from one selvage:

I smooth out the fabric from the cut edge to the fold, then place another pin through both layers of the fabric, 3" from the fold of the same selvage:

To form the hem, I fold the selvage down, using these pins to show where the fold belongs (this is the pin to the right). On the cut edge, I pin through all layers of fabric near the selvage (this is the pin to the left):

On the fold edge, I pin through all layers of fabric near the selvage (this is the pin to the left):


I pin the hem down with a few pins, measuring to ensure an even, three-inch hem:

I pin the remaining cut edges together, and the remaining selvage edges, too:

I use a straight stitch with length = 3.5 for this project:

I stitch the pillowcase together with a straight stitch, starting at the hem, about 3/8" from the edge. I use the edge of my wide presser foot as a guide. I hold the thread tails when I start the seam, and backstitch, too:

I remove the pins along the seam as I go.
The backstitching is shown here, and the thread tails have been cut off. I remove pins from this seam line as I go. Leave in the pins holding the hem in place:

When I get to the corner, I curve the seam away from the edge slightly, starting about two inches from the end. I sew off the edge, and turn the fabric to sew along the selvage. I start that seam slightly farther from the edge, and taper back to the usual seam allowance (for this project) within about two inches:

At the corner where I turned from the cut edges to the selvages, I trim off the corner piece. I am careful to not cut through the stitching that forms the corner:

Using an overcast foot, I use big zigzag stitches to overcast the cut edges of the fabric:
I start at the fold of the hem, but I do not backstitch there:

When I get to the cut corner, I turn the fabric a little at a time and do not let the stitches go inside the corner stitches. After I turn the corner, I continue about two or three inches with the zigzag stitch, then switch to a short (2.5) straight stitch for another inch or so along the selvage. I stop and cut the threads there.
I take it to the ironing board and steam press the hem's fold and all the stitching.
I remove the pins from the hem, and place the pillowcase over the pointy end of the ironing board, with the long seam down the middle of the ironing board. I turn the hem down, which will force the long seam to one side. I press this seam to that side along its length:


I set up my machine for hem topstitching - slightly long, straight stitch:

I stitch the hem in place, removing pins as I go:


Here is the finished pillowcase, neatly folded!

Now it's done!


