Yep, that's the name of this pattern, and it's nice to have something small and quick to make.
I really need a new purse, and I've been seriously considering making one. I have two patterns in mind, and - believe me - I've researched them a lot, mostly on PatternReview.
I needed a quick project to boost my sew-jo, aka. Sewing Mojo, and this bag is it.
Here's the link to the Lazy Girl Runaround Bag pattern.
The pattern is actually an instruction sheet, with line drawings to show you what to do.
The outstanding feature of this pattern is that it shows you a unique method to install a featured (not hidden) zipper in a bag, or any other project that features a zipper. I had never seen this method before, even though I've had this pattern for a while. No, I cannot tell you why I had not read this pattern's instructions before today!
At first, I was quite bothered that no cutting layout was shown. I finally wrapped that around my head by making pattern pieces from recycled paper. I tested the layout by placing my pattern pieces on the fabric:
I also figured out that lining up one edge would make the cutting easier:
I kept the pattern pieces with the cut fabric, which made assembly much easier:
The pattern calls for batting as a stiffener, but I decided to use iron-on woven fusible interfacing, instead.
For the most part, I followed the instructions. However, I did not sew the final seam in one fell swoop, as instructed. I left the strap loose while I stitched up the side where the zipper was closed, across the top, and almost to the other end of the zipper. After that, I pulled the strap out through the zipper opening to stitch the remainder of the seam.
I trimmed the corners and reinforced the corner stitching. After trimming off the excess zipper coil, I turned the bag right side out.
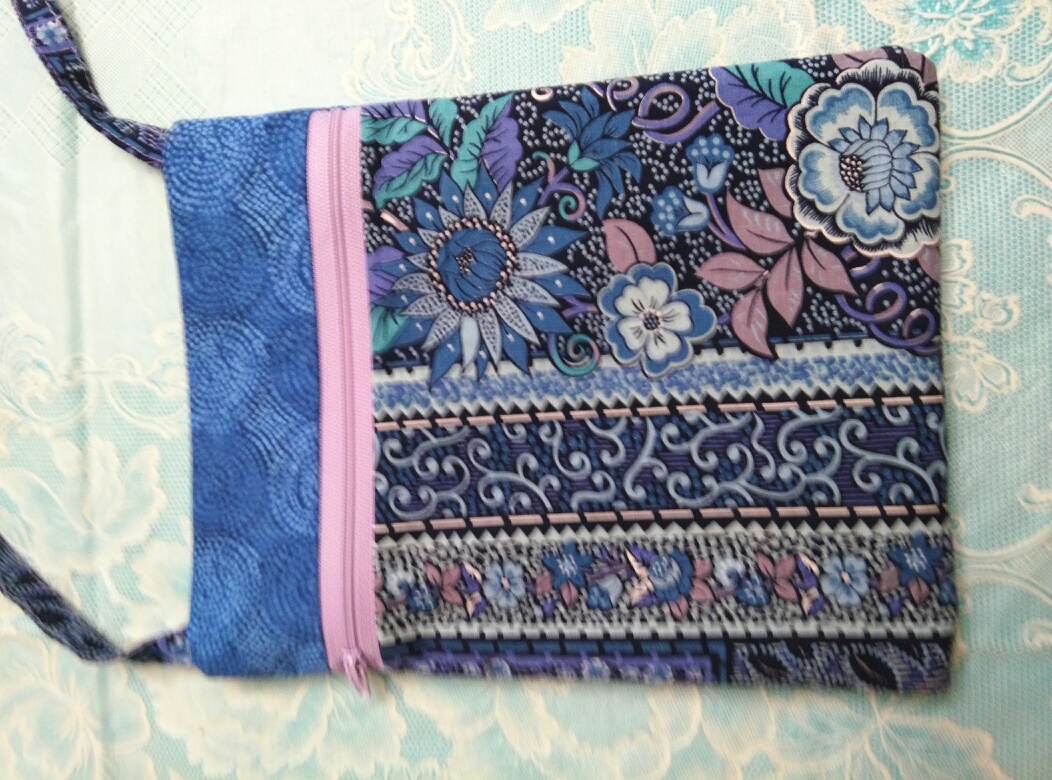
Here are pictures of the front and back of my bag:
I wasn't sure how I would be using this bag until I discovered that two kindles will fit inside just fine, and make it easier to take our "books" to the beach!


.jpg)
.jpg)
.jpg)
.jpg)
.jpg)


