Sunday, December 6, 2015

Flutter Sleeve Top

I've had this really interesting fabric for quite a while - at least two years, but maybe more than seven years.  I'n not sure, but I finally acted on wanting to make something with it.

I originally thought I'd use this Butterick pattern.  I more recently decided that the pattern was too fussy for me, so I sold it:

I finally settled on this pattern.  I made the bottom view without sleeve slits:

Hubby helped me decide how to place the stripes, so the layout was fun.  I mostly cut it out for size 18, but I cut the smallest neck size:

I pinned the shoulder seams:

I used a log, narrow zigzag stitch to sew my seams:


After I made and attached the facing, I understitched with a three-step zigzag stitch:


I finished by topstitching about an inch from the neck edge.  then I sewed the side seams.

Because it's a knit, I did not hem the sleeves or the lower edge.

It was quick to make and it's easy to wear:

When I make it again, I will lengthen it by about three inches, since it barely tucks into my shorts and skirts.

I highly recommend this pattern!

Flannel Nightgown

In 2007, I made a flannel nightgown for my mom:

It's been eight years, and she asked if I would make another one. Sure, but I could not find the same fabric. Well, not at my local JoAnn Fabrics store. I sent her pictures of available fabrics, and she selected three. Of course, when I went back, there was only enough of one of the fabrics.

She asked that the nightgown be made slightly smaller, that the sleeves go all the way to her wrists with elastic, and that it be lengthened.  These were all minor changes.  By the way, I modeled the nightgown above, and my arms are shorter than hers.

I started by sewing the sleeve seams.  I also interfaced and stitched the outer yoke.  Then I trimmed those seams with the serger.

I started pinning the body to the yoke using the center front and back points and the shoulder points. I also pinned all the other matching points:

I found the center of each section so I could place a pin at the middle:

Finding the middle again gave me this result:

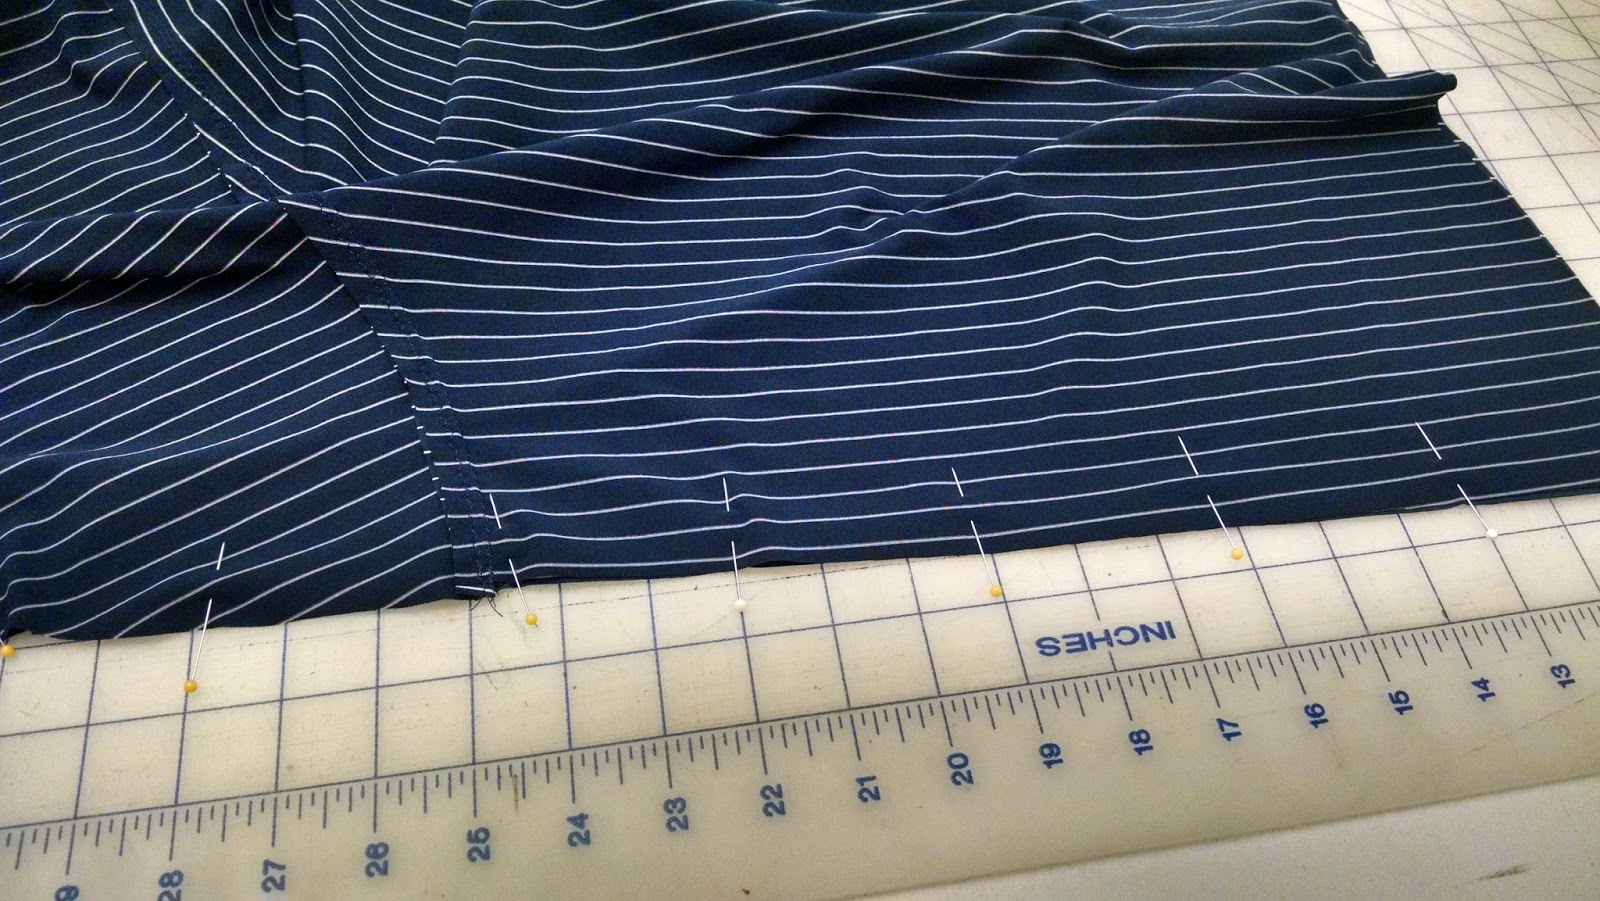
What you see is a good start on the pinning:

When all the pinning was done, it looked like this:

All that tedious pinning was for a specific reason: I do not like to pull gathers, so I made small tucks all around as I sewed:

Here's another perspective:

...and another view:

Crossed seams are bulky, and I forgot to trim some seam allowances.  Here's how I trimmed the yoke seam allowances after the fact:

I pressed the yoke seam allowances towards the yoke.

Having remembered about bulky seam allowances, here's how I trimmed the yoke lining seam allowances as I was preparing to attach it:

I attached the yoke lining to the yoke, trimmed and understitched the neck edge, and turned the lining to the inside.  Then I edge stitched the lower edge of the yoke to hold the lining in place.

I finished the sleeve and hem edges with the serger, then stitched the underarm seams, and finished them with the serger, too.

I hemmed the bottom, and also folded the sleeve casings.  When I stitched the sleeve casings, I left just over an inch unsewn, inserted some elastic, and tied the elastic so my Mom can adjust them to fit.

Here I am modeling the latest version of the flannel nightgown for my Mom:

She's already received the nighgown in the mail, and was delighted!

Saturday, December 5, 2015

Flouncy Bouncy Skirt

I follow a blog and store by Deby of  So Sew Easy.- Lin here.

She has a tab at the top for free patterns, and another tab for patterns for sale.

I found this free skirt pattern on her site, and knew I would eventually make it.

What precipitated the making of my skirt? A weigh-in for insurance purposes caused me to wear my lightest-weight clothes that day. I didn't have a suitable skirt, so I took a thrift-store find from the back of my closet and shortened it: I was told by my coworkers that it was a good length for me:

My ah-hah moment was remembering the Flouncy Bouncy Skirt Pattern. It's a skirt with a full circle attached to a yoke.

I poked around the So Sew Easy facebook page - link here - to find other examples of this skirt. I decided to go with a knit stripe from my stash.

I traced the pattern pieces and placed the stripes so they would go across the front and back, yet down on the sides. That basically means I didn't have to match the stripes at the sides:

The yoke pieces form a shart point at the sides:

Deby recommended I round up the bottom of the yoke, so I used my French curve ruler to do that. I adjusted the pattern

...then I adjusted the fabric the same way:

I pinned the skirt pieces to the yokes:

I stitched with a long, narrow zigzag, pressed towards the yokes, topstitched, then pinned the sides together:

Preliminary views looked good:

I found a wide elastic the same color as my fabric.  I adjusted the length to fit, overlapped and stitched the ends, then laid it over the outside of the skirt and pinned:

I used a zigzag stitch to attach the elastic to the skirt :

I turned the elastic once and topstitched. I figured that I would not usually tuck a top into this skirt:

This is how I usually wear it:

Yes, the skirt is twirl-worthy:


Raglan Knit Shirts

Here are some sewing projects I made this past summer.

Hubby wanted us to have matching long-sleeved shirts for motorcycle riding.

We decided to use this pattern from my stash for his shirt:

I used this pattern for my shirt:

We picked out a technical, wicking fabric. To get the amount of fabric we needed, we found an OK color:

Cutting seemed to take up the whole cutting table surface. I usually use casted sand coasters as pattern weights:

Here's a trick I used for lengthening the sleeves for DH's shirt:

Here's another pattern weight trick:

I used my regular sewing machine to make these shirts. I used a long, narrow zigzag stitch for all the seams, and a three-step zigzag stitch for topstitching. Note the marker "tag" at the back of the neck:

Here are the finished shirts:


Small Clothes

My biggest project was to make "small clothes" for myself.  I used a pattern by Stitch Upon a Time (SUAT) called Scrundlewear - link here

I'm not going to show them to you, but I used remnants from the above shirts, and also this fabric:

I had to tweak to get the correct fit, and the different fabric types made that fun.  Other than that, they were very easy and quick to make.  No elastic required!  I highly recommend this pattern.


Sunday, November 29, 2015

What's up? Water, Water, Fan

I have been dragging my feet on sewing.

This has been partly due to sewing underwear, which I will not show, but they were easy to make.  Here's the link.

More than that, it's been working around the house.

When our kitchen sink faucet was so old that it had to be replaced, we just happened to start that project on Labor Day Weekend.

LABOR DAY WEEKEND.  What a clue!

First, we had to remove the old faucet, by turning these:

They. Would. Not Turn.

Not by me, not by my husband, and not by the kid next door.

Let's try to take it off from the top. Great idea?

Or not.  Let's just replace the sink. Disconnect everything, and measure the hole:

Buy a new sink:

Connect everything to the sink before installing:

Jerry-rig the water filter attachment:

Install and test for leaks:

Fix two leaks and final leak test:

Yep, that was part one.

Find a bad smell in the front yard. Assume that the septic tank lid has fallen in. Call the septic company for an estimate. Find that the tank is fine, but the drain field has caved in and needs to be rebuilt: Pay them to tear up the whole front yard in the name of Fixing:

Plant grass seed and hope it grows. Note, it's growing fine.

That was part two.

Part three is that the fan in the bathroom finally died.  Heck, it was probably 50 years old. The hardest part was rebuilding the hole from round to square. Taking his time to get it right, DH took about two weeks from start to finish.

Those are my excuses, and I'm sticking with them!