I have promised a few people that I would explain how to add pockets in the side seam that do not flop around inside the garment and actually are made with one pocket piece.
These instructions show woven fabrics and 5/8"-inch wide seam allowances. This tutorial is used for pull-on shorts, pants, or skirts that have a fold-over elastic waist.
NOTE: In this method, the side seams are attached before the crotch seams and the front and back seams.
I will share the knit version in a different post.
This is a pocket piece that's 11" long and 7" wide, with a 6" bowl shape for the bottom curve, and a little jog over towards the place it attaches to the seam.
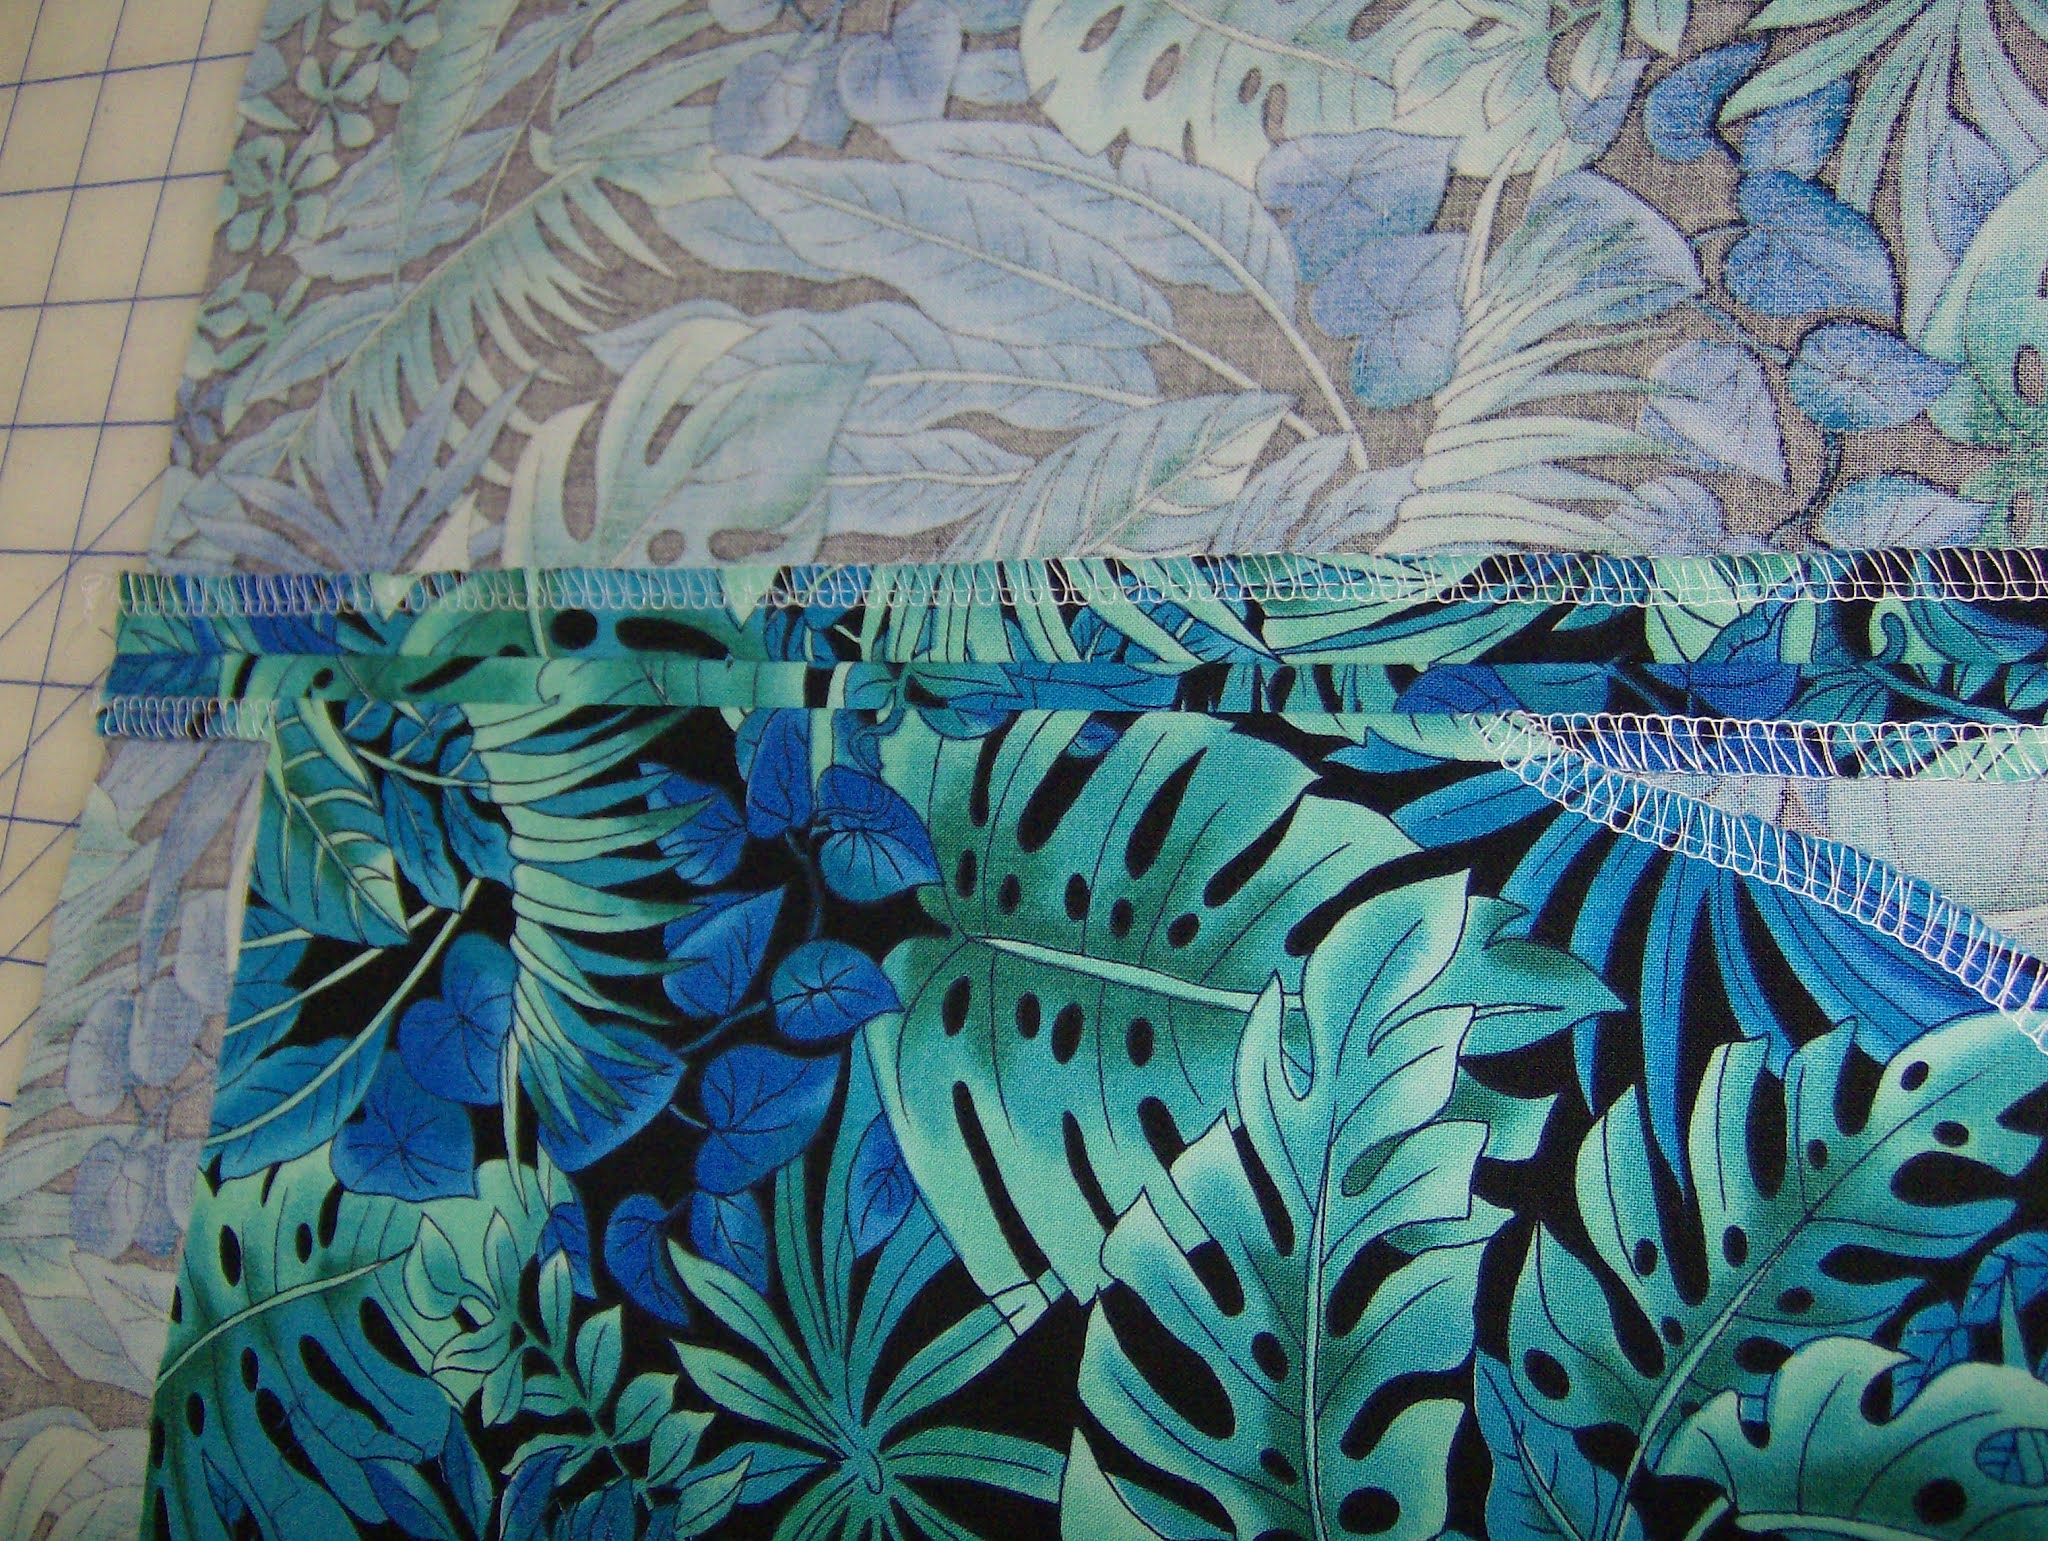
Two pocket pieces are cut in opposite directions and the outer edges are serged then steam pressed.
The pocket pieces are aligned with the side seams of the back pieces and pinned in place. Note that the pockets are placed one inch down from the top edge.
The pocket pieces are serged onto the back pieces, finishing the cut edges at the same time.
The pocket pieces are pressed flat, then pressed away from the back pieces. Note that the side edge remains pointing towards the pocket.
Fusible interfacing is cut 1" x 8.5" long, with the stretch along the short edge. The interfacing is applied to the front pieces at the side seams about 1-3/4" from the top edge and stabilizes the front edge of the fabric where the pocket openings will be.
The side front edges are serged, finishing the cut edges and anchoring the interfacing.
Each back piece, with a pocket attached, is placed right side up. The front piece is placed over it, right side down, with side edges matching.
All pins are placed in one direction EXCEPT the area of the pocket opening. This is where long, basting stitches will be used. In this case, the pocket opening is 5" long, starts 2" from the top of the interfacing, and ends 1" above the bottom of the interfacing.
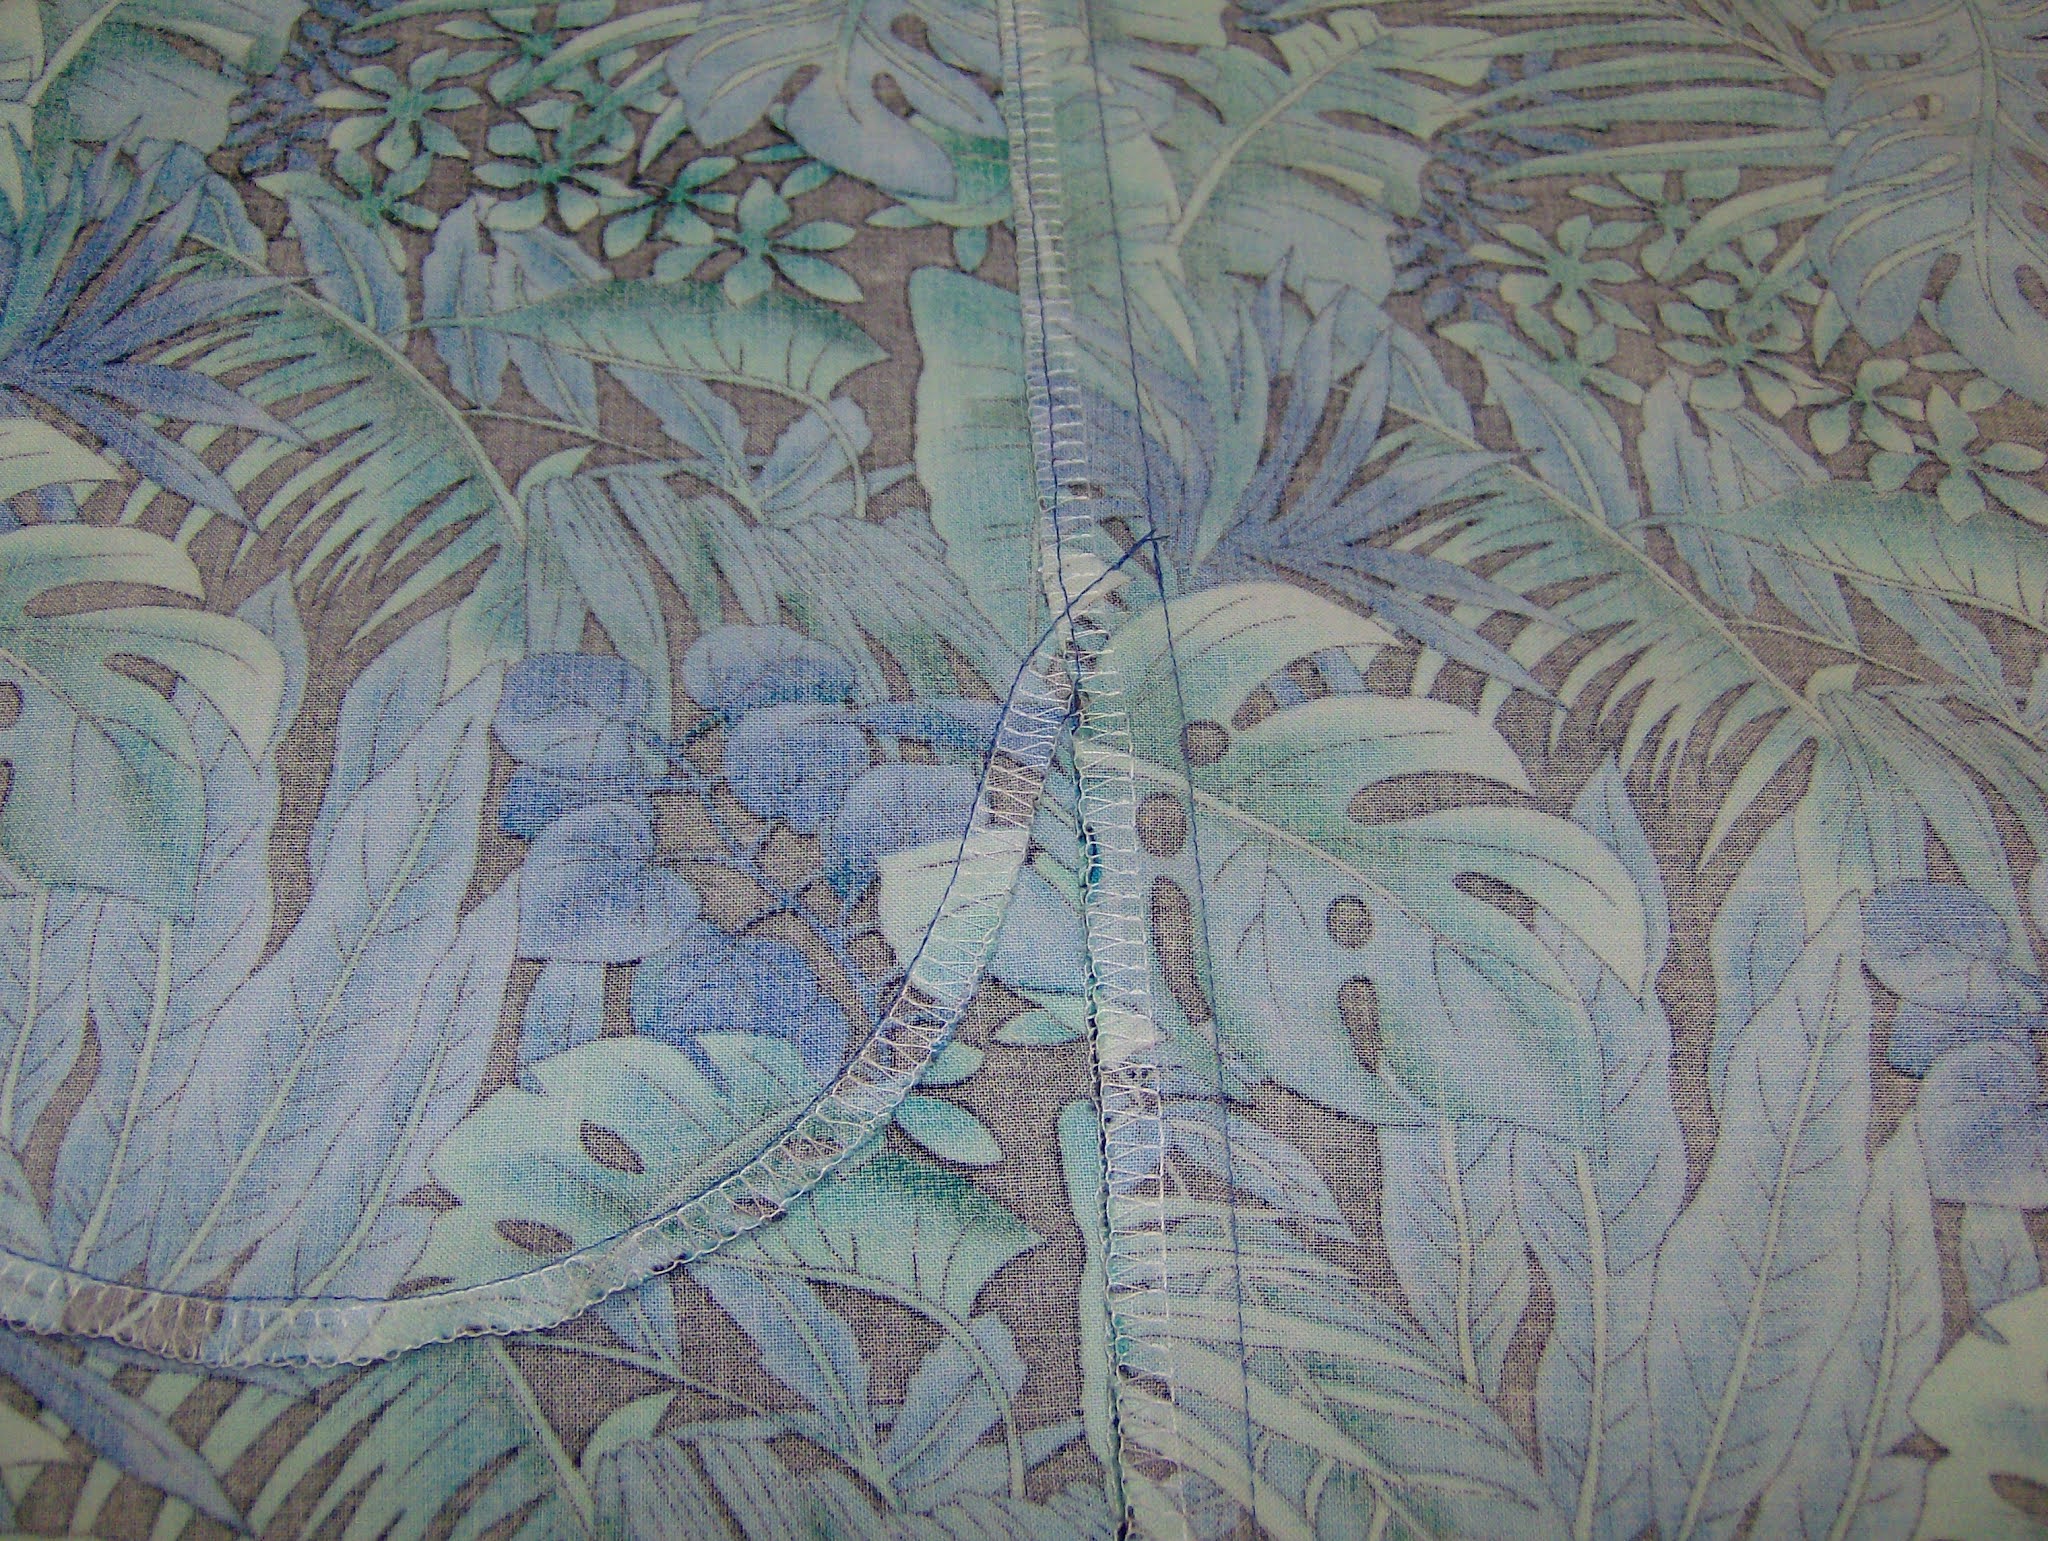
After the side seam has been stitched, press it flat, then press it open.
The front edge of the side seam has been top stitched from top to bottom.
The pocket and its seam allowance have been pulled away from the shorts. The pocket edge has been top stitched to the seam allowance.
The pocket and all seam allowances have been pressed to the front, and the pocket has been pinned to the front.
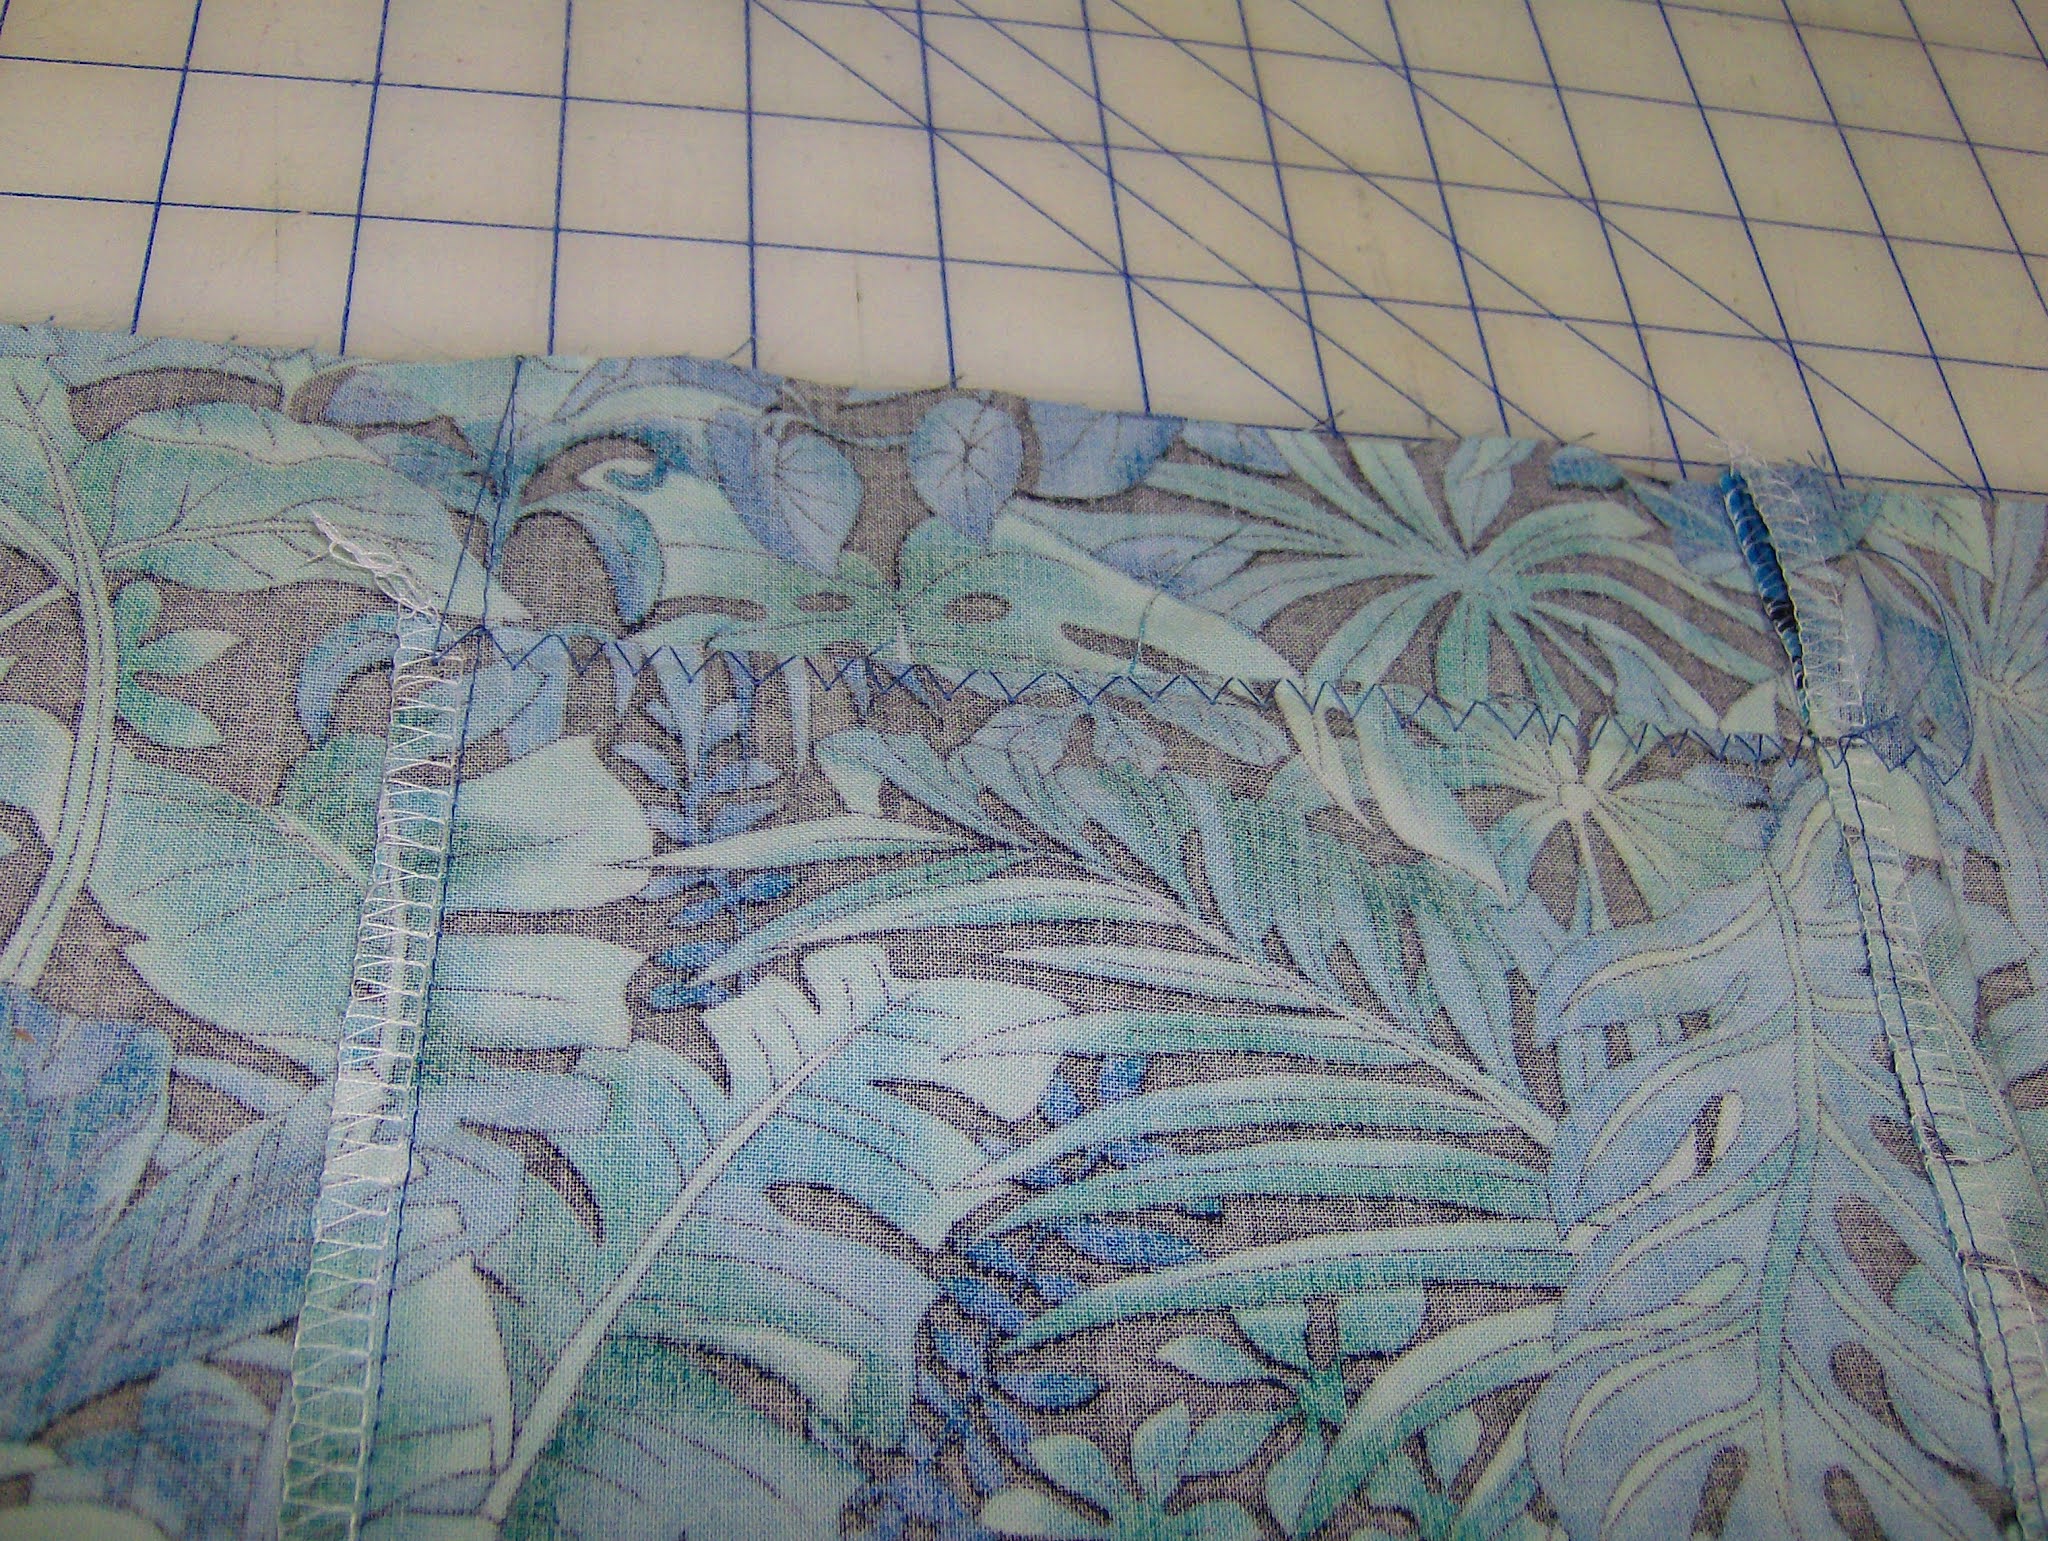
The pocket has been stitched to the front. One end of the stitching is at the bottom of the basting at the side seam.
The pocket stitching continues to the top edge of the shorts. The top edge of the pocket is basted with large zigzag stitches.
After these steps, continue to assemble the garment. In this case, turn and stitch the hems, then I place the front and back assemblies right sides together and stitch the front and back crotch curves separately.
After that, I stitch the crotch seams together, then I continue with the waistband.
When the waistband is completed, I remove the basting from the pockets and it looks like this:
Feel free to let me know if you have any questions about this.


.jpg)
.jpg)
.jpg)