Showing posts with label pocket. Show all posts

Sunday, December 8, 2024

Single Layer Pocket

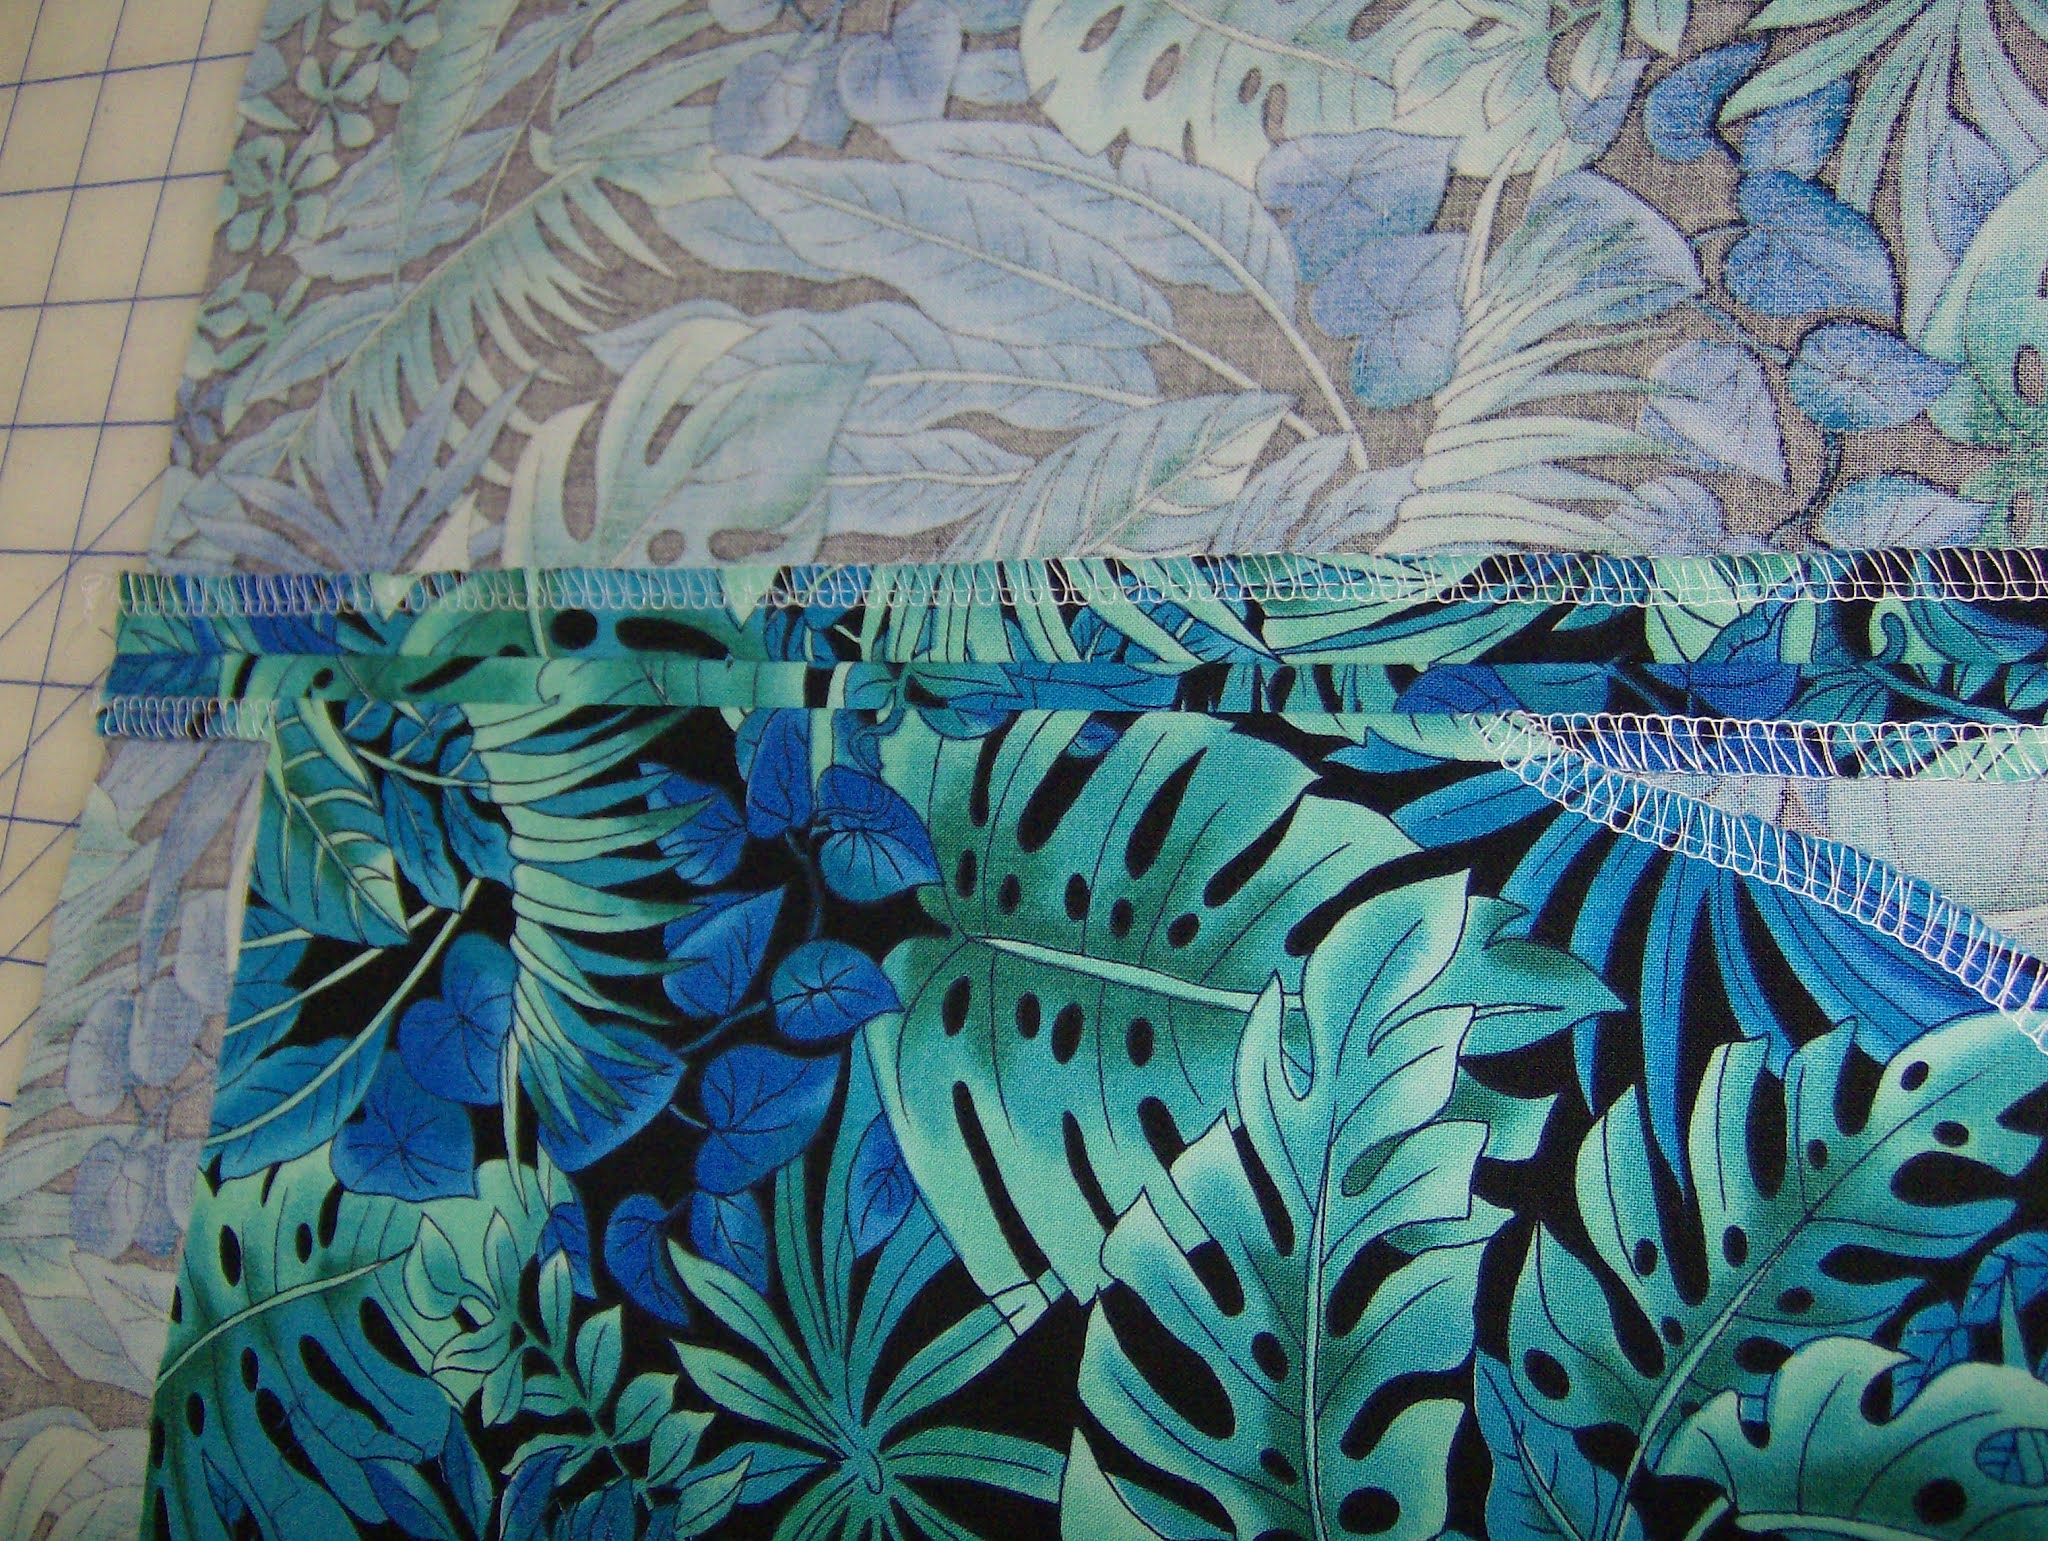
These instructions are for a single layer side seam pocket. You only need to cut out two pocket pieces. If using a woven fabric, serge or zigzag around all pocket edges except the edge with the opening marks.


Method one, pocket opening exactly on the seam


Cut four long strips of interfacing 1" wide and 2” longer than the pocket opening, with the less stretchy direction along the length. Do the following for each pocket.


Fuse this to the wrong side of the pocket opening location on front and back.


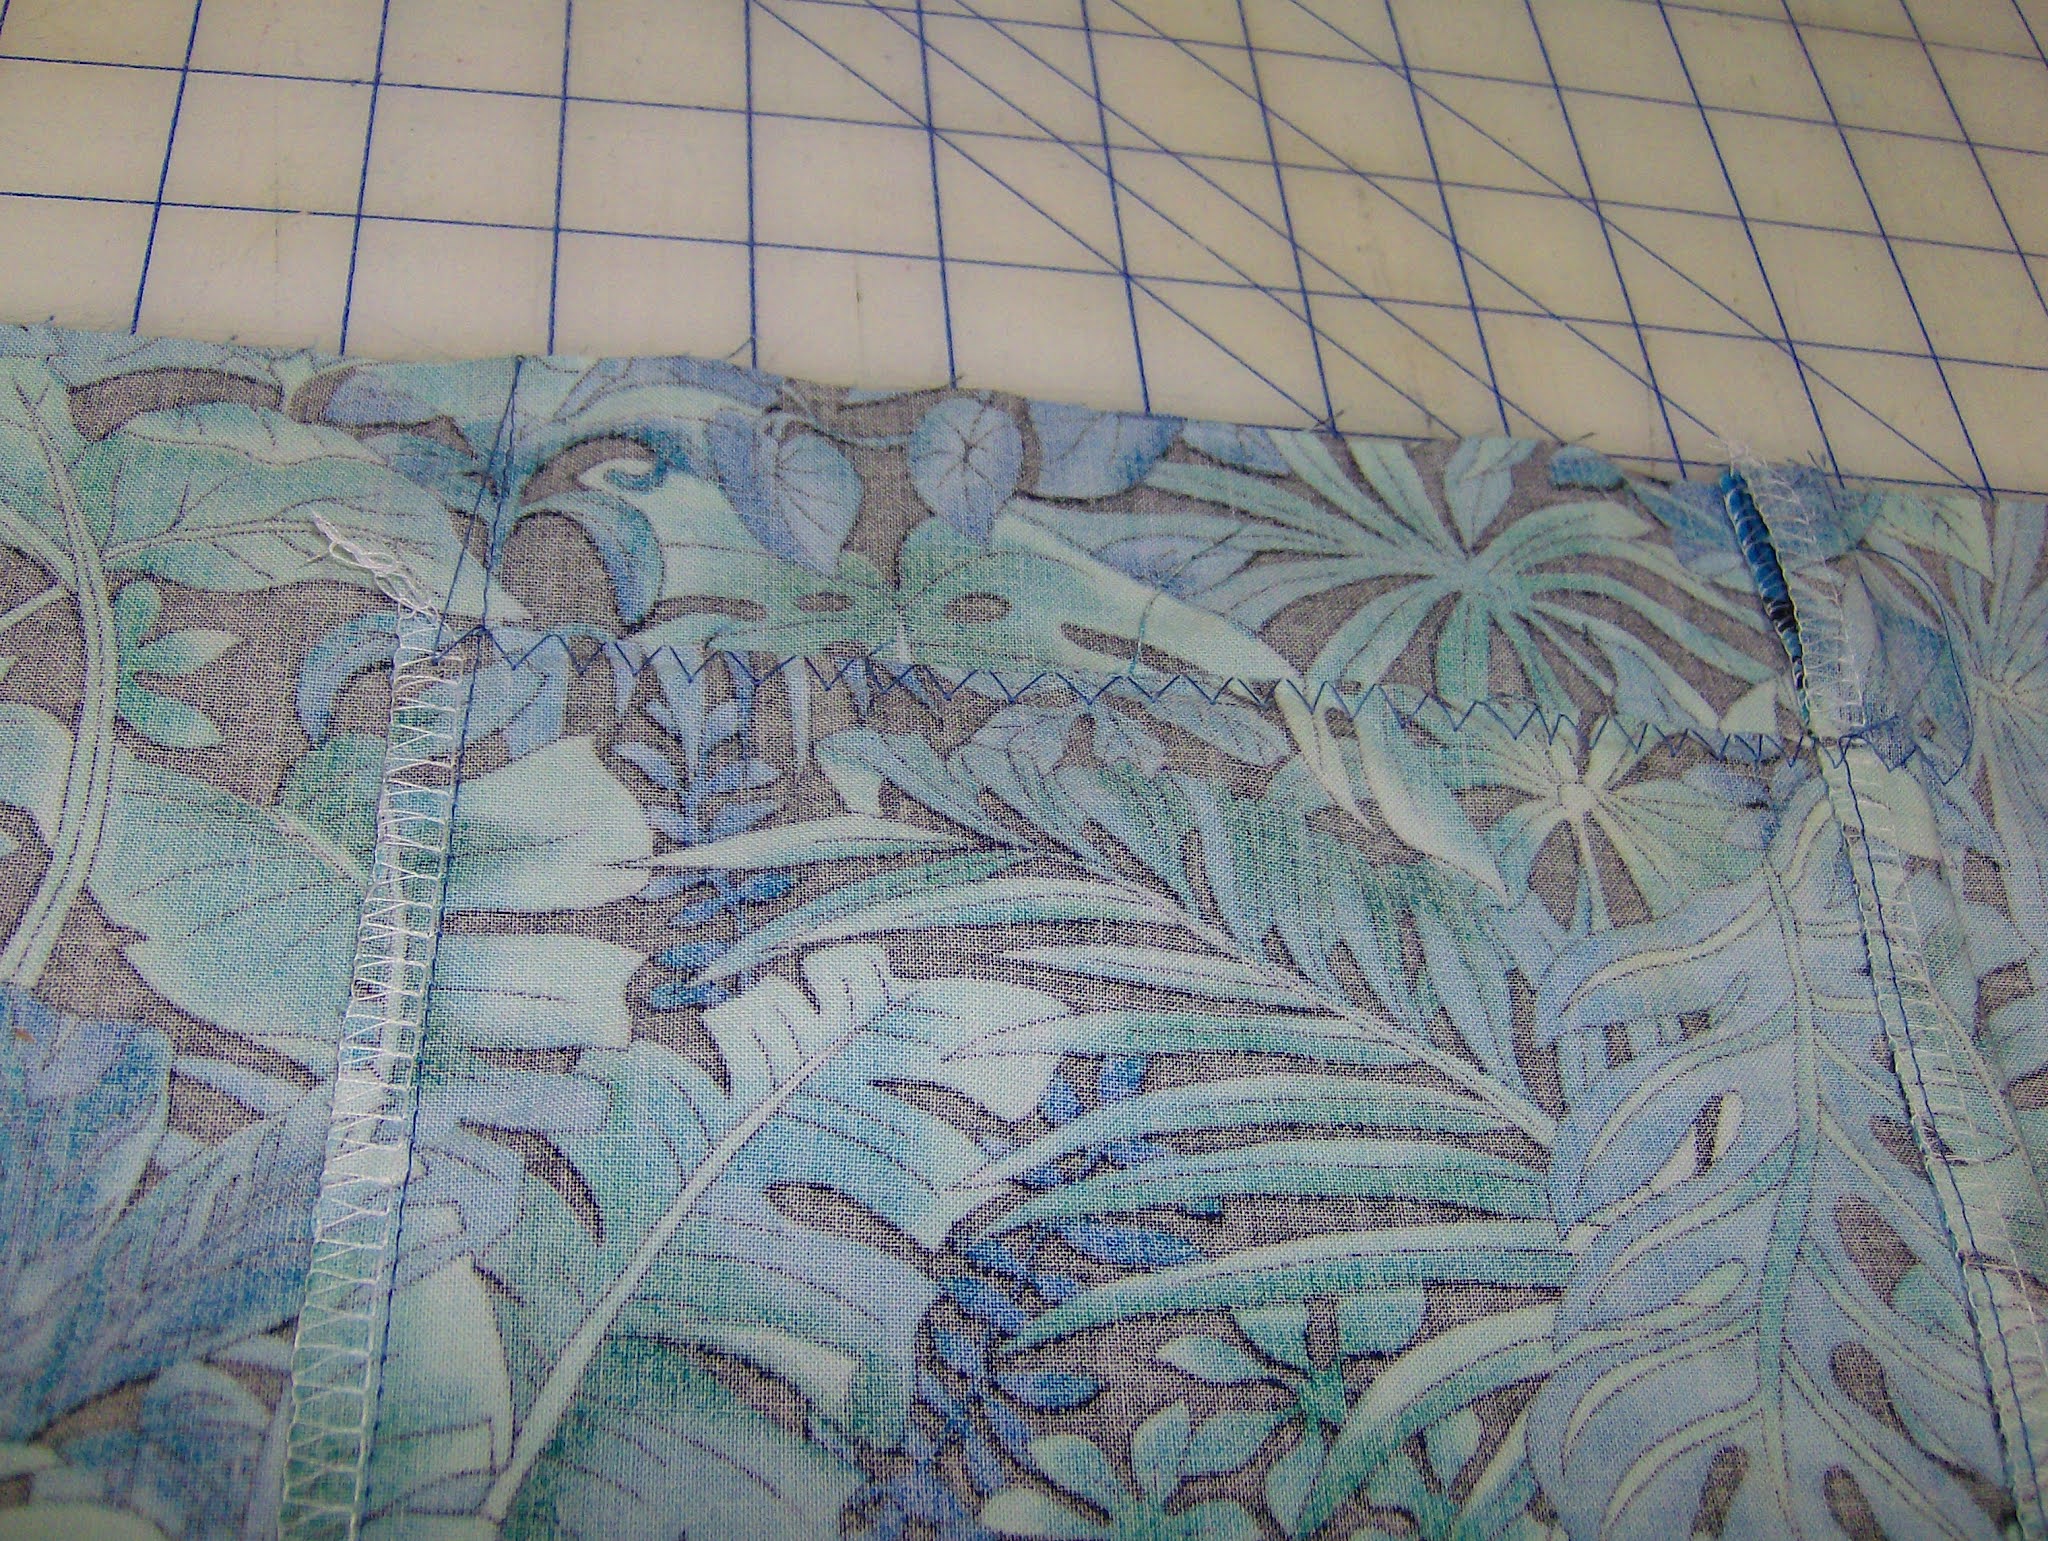
Stitch the pocket right sides together (RST) to the back, matching the pocket opening dots or notches, but with a narrower seam allowance. Press the pocket away from the back bodice.


Stitch the side seam but with longest stitches (aka basting stitches) at the pocket opening and backstitching at both ends of the opening. Press the seam open and topstitch the front around the pocket open location.


Press the pocket towards the front. Pin and stitch around the pocket. I would use a medium zigzag stitch when topstitching on knits.


Remember to remove the basting stitches!


Also see this on my blog.


Method two, pocket opening inset


This picture represents the facing. The blue line is where the facing is along the edge of the front. The dotted line is the stitching. Read on...


Cut two facings, long strips of fabric 2" wide and 2” longer than the pocket opening, with the less stretchy direction along the length.


Cut two long strips of interfacing 2" wide and 2” longer than the pocket opening, with the less stretchy direction along the length.


Do the following for each pocket.


Fuse the interfacing to the wrong side of the facing.


Pin the facing to the front of the garment RST centered over the pocket opening. Stitch the top of the pocket opening from the fabric edge to 1” in, turn and stitch to the other end of the pocket opening, then turn and stitch towards the fabric edge, forming a flat U shape.


Inside the U-shaped stitching, cut diagonally into both corners, but not beyond the stitching.


Turn the facing to the wrong side of the front. Press and topstitch around the opening.


Place the right side of the pocket on the wrong side of the front, matching the pocket opening dots or notches. Pin and stitch around the pocket. I would use a medium zigzag stitch when topstitching on knits.


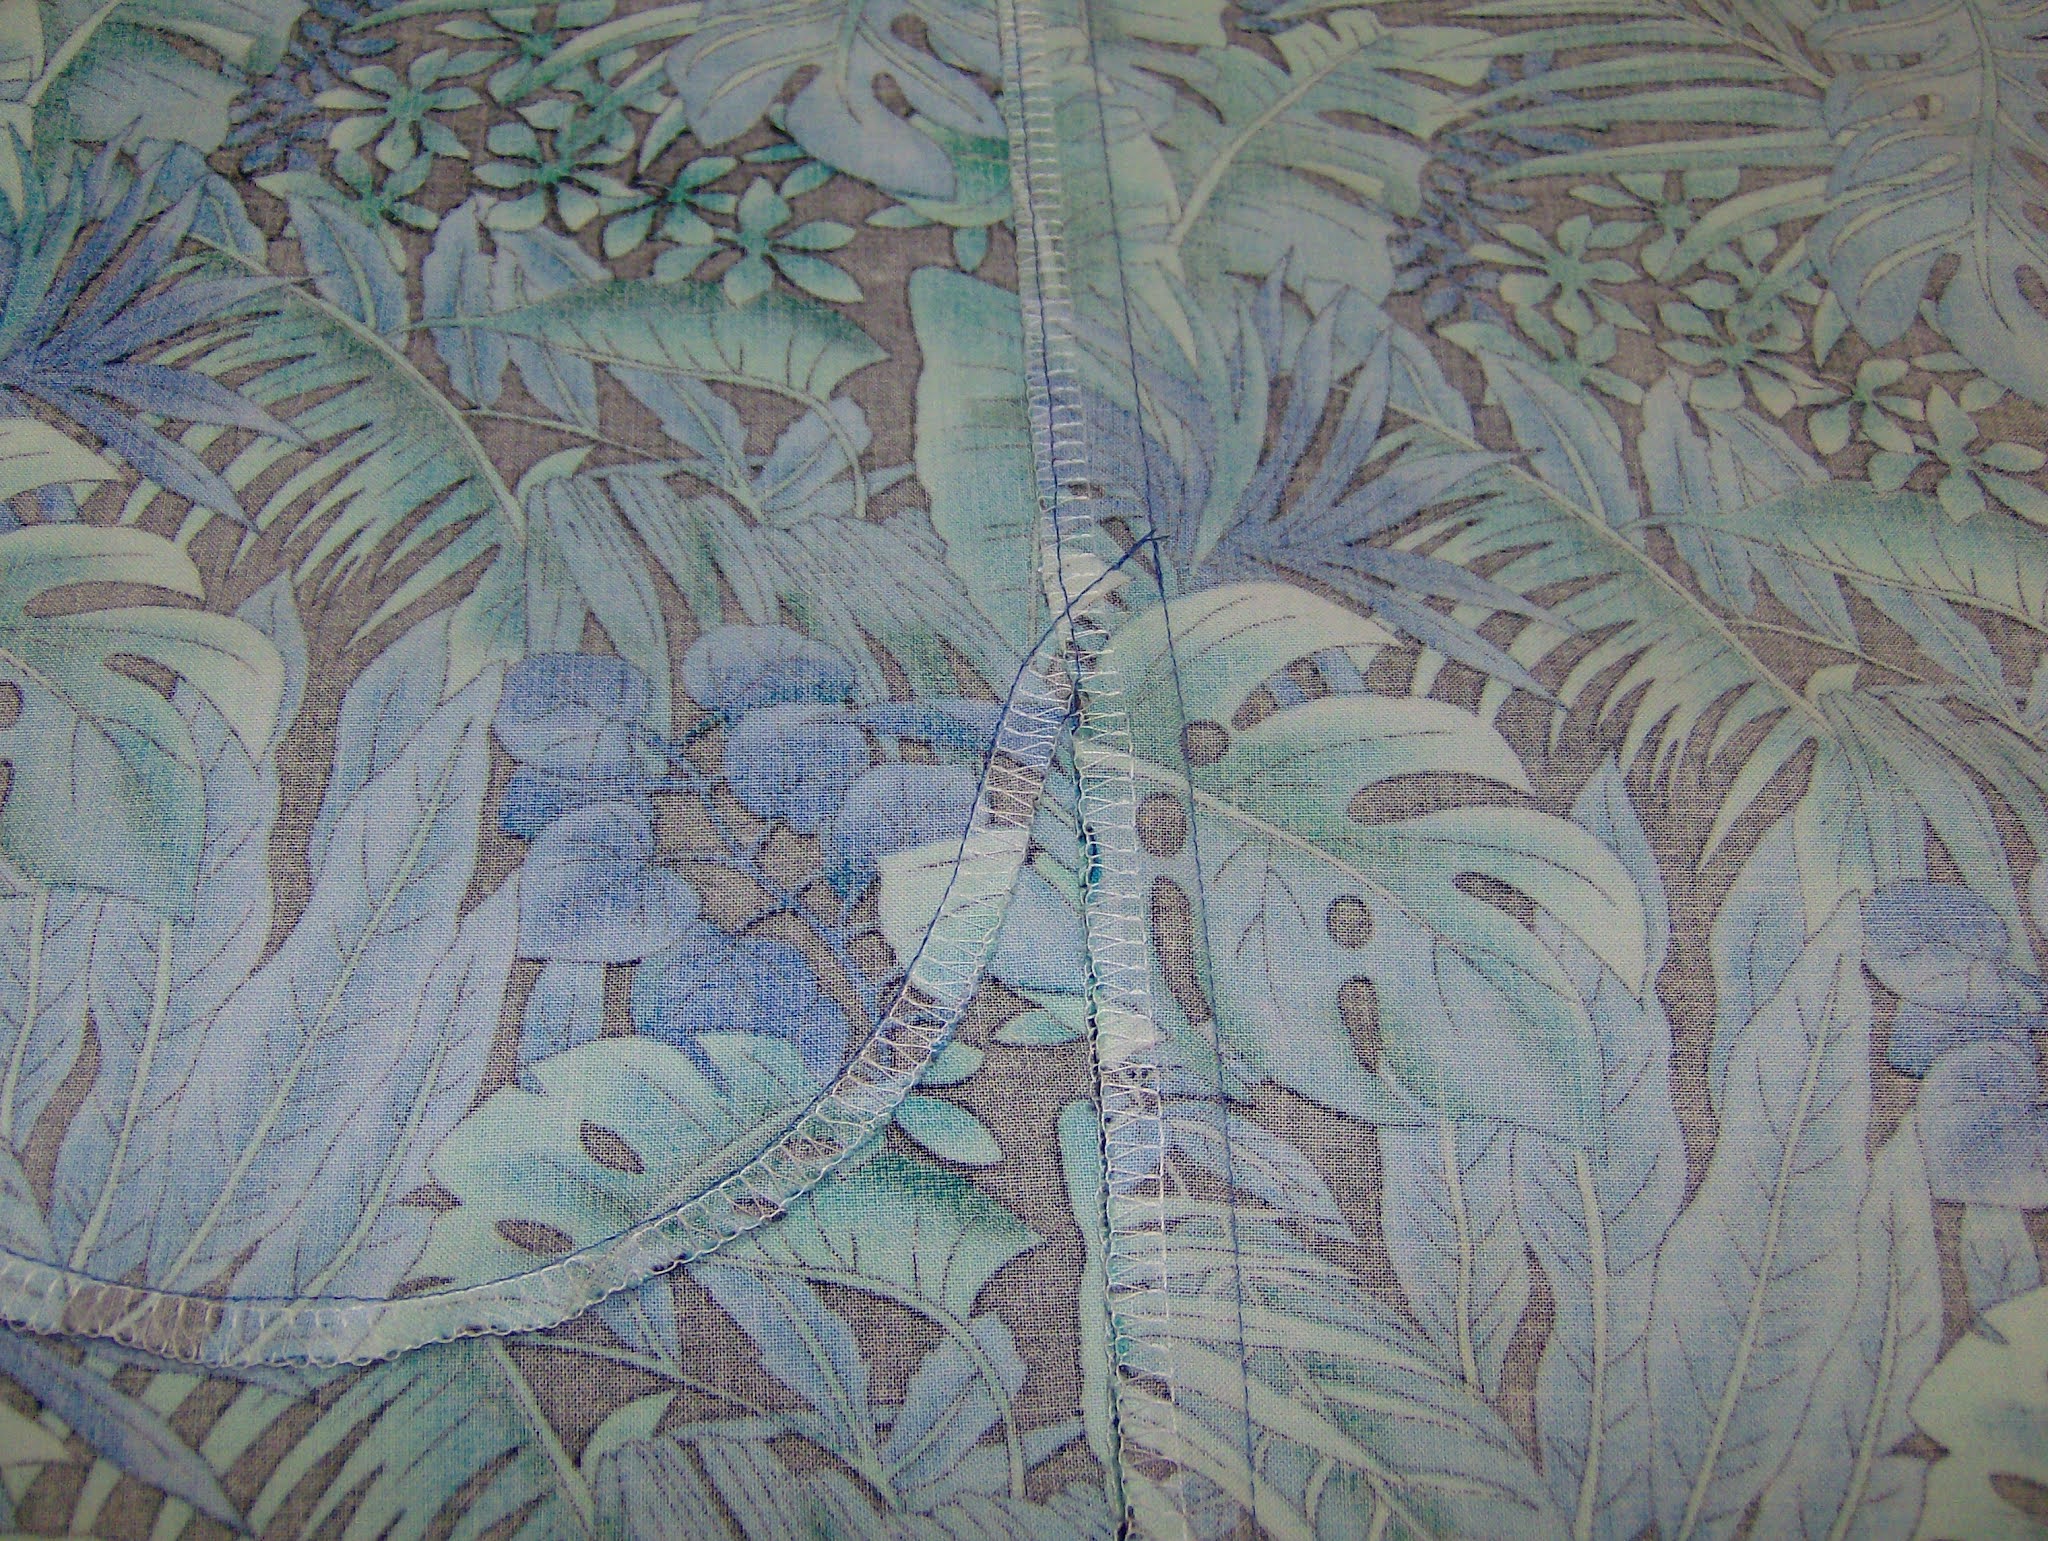
Here's where I used a curved opening.


I hope this helps.

Friday, January 5, 2024

Daniel Knit Shorts by 5 out of 4 Pattern Company

I use this pattern for my knit shorts because the waistline is fairly straight, unlike some pants patterns that have the waistline much lower in the front than in the back.

I have adapted a pocket method I learned from Stretch n Sew patterns. I made a template for the pocket opening shape by cutting out the side of a dollar-store placemat:


I placed a facing piece, right sides together, onto the pocket opening location of the side of the front pieces, traced the opening shape, stitched the opening shape, trimmed, turned to the inside, and topstitched:


Then I placed the right side of the pocket piece against the wrong side of the front piece at the pocket opening, pinned well, and used a medium zigzag stitch to hold it down:


Only partly shown are the next few steps of my construction method.

I stitched the back pieces to the front pieces at the side seams.

I hemmed each assembly.


I placed the two assemblies right sides together and sewed the crotch curves at each side.

I placed the back pieces on the bottom, which means folding it a different way, laid the front inseam over the back inseam, and stitched that from hem to hem.

I stitched the elastic into a circle, marked the quarters, and marked halfway between those points. I also marked the top edge of the shorts in the same way. I matched those up with the elastic on the wrong side of the shorts, and pinned them together:


I attached the elastic to the shorts with a large zigzag stitch:


I basted on a folded ribbon or tape of a contrasting color to mark the center back:


I turned the elastic to the inside, pinned well, and stitched it down along the lower edge of the elastic with a medium zigzag stitch:


I didn't stop there, though. Because I liked how they fit me, I also made a pajama pants with a double-brushed poly (aka DBP). I made the legs the length and width (at the hem) the way I liked in another pair of PJ pants, and did not add pockets:


Here's a close-up of the cute print. The DBP is very soft:


The pockets, hems, and elastic were constructed with my sewing machine. All other seams were constructed with my serger for a quick and easy project.

Thursday, June 8, 2023

Flat Side Seam Pockets for Woven Fabrics

 I have promised a few people that I would explain how to add pockets in the side seam that do not flop around inside the garment and actually are made with one pocket piece.

These instructions show woven fabrics and 5/8"-inch wide seam allowances. This tutorial is used for pull-on shorts, pants, or skirts that have a fold-over elastic waist.

NOTE: In this method, the side seams are attached before the crotch seams and the front and back seams.

I will share the knit version in a different post.

This is a pocket piece that's 11" long and 7" wide, with a 6" bowl shape for the bottom curve, and a little jog over towards the place it attaches to the seam.


Two pocket pieces are cut in opposite directions and the outer edges are serged then steam pressed.

The pocket pieces are aligned with the side seams of the back pieces and pinned in place.  Note that the pockets are placed one inch down from the top edge.


The pocket pieces are serged onto the back pieces, finishing the cut edges at the same time.


The pocket pieces are pressed flat, then pressed away from the back pieces.  Note that the side edge remains pointing towards the pocket.

Fusible interfacing is cut 1" x 8.5" long, with the stretch along the short edge.  The interfacing is applied to the front pieces at the side seams about 1-3/4" from the top edge and stabilizes the front edge of the fabric where the pocket openings will be.

The side front edges are serged, finishing the cut edges and anchoring the interfacing.

Each back piece, with a pocket attached, is placed right side up.  The front piece is placed over it, right side down, with side edges matching.

All pins are placed in one direction EXCEPT the area of the pocket opening.  This is where long, basting stitches will be used.  In this case, the pocket opening is 5" long, starts 2" from the top of the interfacing, and ends 1" above the bottom of the interfacing.

After the side seam has been stitched, press it flat, then press it open.

The front edge of the side seam has been top stitched from top to bottom.

The pocket and its seam allowance have been pulled away from the shorts.  The pocket edge has been top stitched to the seam allowance.

The pocket and all seam allowances have been pressed to the front, and the pocket has been pinned to the front.

The pocket has been stitched to the front.  One end of the stitching is at the bottom of the basting at the side seam.

The pocket stitching continues to the top edge of the shorts.  The top edge of the pocket is basted with large zigzag stitches.

After these steps, continue to assemble the garment. In this case, turn and stitch the hems, then I place the front and back assemblies right sides together and stitch the front and back crotch curves separately.

After that, I stitch the crotch seams together, then I continue with the waistband.

When the waistband is completed, I remove the basting from the pockets and it looks like this:

Feel free to let me know if you have any questions about this.

Sunday, May 31, 2009

New Tote Bag with Plain Pockets

From Sewn Tote Bags
I made a tote bag for DH, and added two plain pockets to one side. To copy this pocket method, here's what you need:
  • for each pocket, cut a 6" x 6" square of fabric
  • My tote bag pattern - replace those pocket instructions with these instructions below
Each pocket piece is serged on opposite edges. One serged edge is turned under 1" and hemmed. The other serged edge is turned under and pressed.

The pocket pieces are sized to be stitched into the straps. The straps are first stitched onto the tote bag along the outer edges, leaving the inner edges free. Each pocket is placed on the bag so that the raw edges will be enclosed by the straps.

The first pocket is placed about 4" from the top hem edge of the tote bag. It is basted along the sides and stitched firmly across the bottom of the pocket. Do not stitch through the straps at this point.

The next pocket is placed at least 1" below the previous pocket, and basted and stitched in the same way. Additional pockets are attached in the same way. The bottom of the last pocket should be at least 1" above the top edge of the side cutout.