I would like to introduce you to a blogger on my Blog Roll.
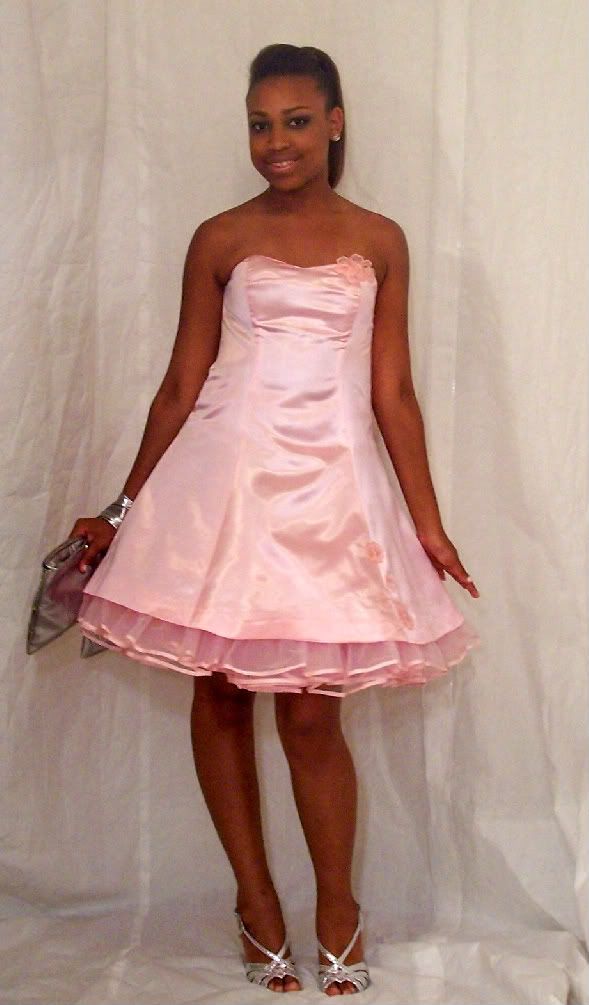
Erica B - DIY Style!
I found her at PatternReview a while back.
Erica has an angelic face to counter her edgy style.
This skirt looks great!
I just love this purple dress - my favorite color!
When she copies an outfit she's seen, I believe that hers is ALWAYS BETTER. Here's a sample inspiration:
... and here is her version, which is So Much Better - don't you agree?
She was recently added as an original member of the Mood Sewing Network:
Can you believe she has daughters who are nearly grown up?
Here's another darling daughter:
I hope you will visit Erica's blog and be inspired by her creativity and sense of style!
Monday, October 22, 2012
Sunday, October 14, 2012
Working on KwikSew 3949 part 6
What can I say?
I did some more work on this dress today:
I serged the cut edge of the hem (not shown). I marked the elastic to the length for my size.
I threaded the elastic through the casing and basted the overlap together with big zigzag stitches. When I tried the dress on, the waist was too big, so I pulled the elastic back out, removed the basting, overlapped it more, and basted again. Now the waist fits me correctly:
When I tried the dress on, hubby and cousin told me that it looked like a house dress:
Oh, no! It really does look like a house dress!
If you look carefully, you can see that my under-clothes are showing under my arms!
Oh, well! What I have is another well-made wadder!
When I figure out what went wrong, I will share that.
I have a previous wadder that's been hanging in a closet for many months. I will need to share that, too!
Friday, October 12, 2012
Blog Commenting Award
I received this blog award today from BeaJay who writes the blog "On the Road to Sew Wear."
Is this cool or what?
I love to share my sewing journey, some sewing tips, and parts of my life.
It's interesting to see who is paying attention! Reading comments is also a way to learn about other bloggers.
This award is to thank the people who take the time to leave a comment on your posts. It is always great to receive comments from fellow sewists.
I've been known to lean from readers who comment on my blog.
Here's "the deal" about this "award" -
Judith
SewIknit2
CoCo
glorm
Laura and Hans
Carolyn
Jane M
prttynpnk
Diana
Thank you all so much for caring and commenting on my blog. Your comments are all appreciated!
You know you ALL ROCK!
PS: Like several others, I have linked to the commenters' blogs. I do not think this is a requirement of the "award." In passing these on, I think a simple list works just as well. In fact, if I've linked to you and you don't want me to link to you, please let me know.
Is this cool or what?
I love to share my sewing journey, some sewing tips, and parts of my life.
It's interesting to see who is paying attention! Reading comments is also a way to learn about other bloggers.
This award is to thank the people who take the time to leave a comment on your posts. It is always great to receive comments from fellow sewists.
I've been known to lean from readers who comment on my blog.
Here's "the deal" about this "award" -
" There is no requirement to do anything like list stuff about yourself, just to pass it on to the last nine bloggers to comment on your blog...So I'm interpreting that, rightly or wrongly, as the first nine on my previous post, not counting the ladies who passed it on to me. "
Judith
SewIknit2
CoCo
glorm
Laura and Hans
Carolyn
Jane M
prttynpnk
Diana
Thank you all so much for caring and commenting on my blog. Your comments are all appreciated!
You know you ALL ROCK!
PS: Like several others, I have linked to the commenters' blogs. I do not think this is a requirement of the "award." In passing these on, I think a simple list works just as well. In fact, if I've linked to you and you don't want me to link to you, please let me know.
Wednesday, October 10, 2012
My Notches Technique
I just saw a blog post about notches.
There are many ways to mark and cut notches - except that I do not cut notches
I cut the notch in on the pattern.
I cut straight across the fabric, straight across the notch.
I mark the fabric with permanent marker right in the middle of the pattern's indented notch.
Here are some examples of notches I've used. I try to mark the fabric with a pen color that will contrast with the fabric.
Most pictures will get bigger when you click them:
Have you tried this method with pattern notches?
Do you have a special trick for notches?
Monday, October 8, 2012
Thinking of DD on her Birthday
My DD has reached the quarter-century mark!
None of these pictures is recent, but I am thinking of her.
Happy Birthday!!!
None of these pictures is recent, but I am thinking of her.
Happy Birthday!!!
Monday, October 1, 2012
Working on KwikSew 3949 part 5
I finished the waistline casing of this dress:
As of my previous post, the skirt had just been pinned to the bodice assembly with waistline casing pieces attached. Since then, the skirt piece was sewn to the outer layer of the waistline casing. After stitching the seam, I finished off the raw seam allowances with the serger. I also steam pressed that seam before continuing:
I pulled the skirt out of and away from the bodice, and I pressed its seam (towards the top of the picture) towards the bodice:
I pressed the inside casing piece away from the bodice. to enclose the outside casing and both casing seams:
I turned the dress has been to the outside. While pinning it all together, I had to make sure that the casing lower seam allowances stayed as pressed towards the bodice and the inside casing piece completely covered (encased) the lower seam:
I stitched on the outside of the skirt, just below the waistline casing, with a technique known as stitching in the ditch:
Here's what the inside of the waistline casing looks like after I stitched it from the outside. Now the bodice is at the top of the picture:
I know this dress doesn't look like much on the hanger, but here it is:
Coming up next: insert elastic into the waistline casing and hem the dress.
As of my previous post, the skirt had just been pinned to the bodice assembly with waistline casing pieces attached. Since then, the skirt piece was sewn to the outer layer of the waistline casing. After stitching the seam, I finished off the raw seam allowances with the serger. I also steam pressed that seam before continuing:
I pulled the skirt out of and away from the bodice, and I pressed its seam (towards the top of the picture) towards the bodice:
I pressed the inside casing piece away from the bodice. to enclose the outside casing and both casing seams:
I turned the dress has been to the outside. While pinning it all together, I had to make sure that the casing lower seam allowances stayed as pressed towards the bodice and the inside casing piece completely covered (encased) the lower seam:
I stitched on the outside of the skirt, just below the waistline casing, with a technique known as stitching in the ditch:
I know this dress doesn't look like much on the hanger, but here it is:
Coming up next: insert elastic into the waistline casing and hem the dress.
Subscribe to:
Comments (Atom)


